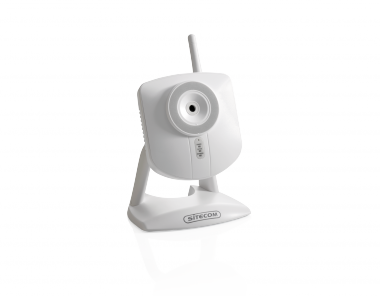
Wireless internet ip camera - 54g
WL-404 v1 001
How can I use the portal and what can I do with it?
Go to https://mycamera.sitecom.com to use the portal (use the following browsers: Firefox or Internet Explorer. Neither Safari nor Google Chrome supports Java, so they will not work with the MyCam portal.)

Log in here with your MyCam account (Don't have an account yet? Create one by clicking the ‘Create Account’ button.) Once you are logged in you see the ‘Camera overview’. Here you can view your active cameras:

What do the following buttons do?

 : Reload the Live stream.
 : Sound off/on
 : Go to the Timeline of the Wi-Fi Home Cam
 : Camera Status (Online)
 : Camera Status (Busy)
 : Camera Status (Offline)
In the timeline of the Wi-Fi Home Cam you can look back at the events by hour, day or week.

Hover the mouse over one of the blue markers in the timeline to get a pop-up containing the events that occurred at that moment.

Select one of the time markers. The recording will now begin playing on the screen.
You will find the control buttons at the bottom right.

To change your account details you will need to click ‘Account’ at the top of the page.

You are now in the ‘Account overview’. If you make changes here, you must click the  button to ensure that the changes are saved.

It is also possible to manage your devices within your account. You do this by clicking ‘Device’ in the top right corner of the screen. Here you can add , change
 or delete
 cameras.

To add a camera, click  . Now you will see the following screen:

Please note: the picture does not match the actual situation.
Then follow the steps until you get to the following screen.

Enter your MAC Address and the Activation Code. You can find them on the flyer included with your Wi-Fi Home Cam. After you have filled these in, click ‘Apply’.
If it works, the ‘Apply’ button will change to:  .
.
If not, the following message will be shown: 
Reboot the camera by removing the power cable. Connect the cable again to switch on the device, and make sure the camera is connected to a network! This is necessary to activate the camera. For more information about this problem, click here.
To customise the name or video quality click  . Now you see the following screen:

If you have changed the name or video quality, click ‘Apply’. Do you want to go back to the default settings? Then click ‘Reset’. It is also possible to delete your camera from your account here by clicking the ‘Delete’ button.
To remove the camera click  .
.
You get the message shown below. Click ‘OK’ to remove the camera or ‘Cancel’ if you change your mind.


